VRCC Just Pics Tutorial
How to register, create an album and upload your pics!
First, point a new browser window to the new Just Pics photo album. From there we will take you step by step through the process of registering a user account, creating an album and ultimately adding your own pictures. This album has lots of neat features built in, like slides shows, ecards, a rating system, and even a comment system. But for now we'll just start with the basics. As you follow through this tutorial, you will see a picture and below each picture will be an explanation of what to do next. Just remember...instructions follow the picture.
Important things to know
- You must register an account in the Photo Gallery to add photos
- A valid email address is required for registration.
- You must login with your new account to add albums or photos
- You must create an album(or already have one) before you can add pictures
Let's Get Started!
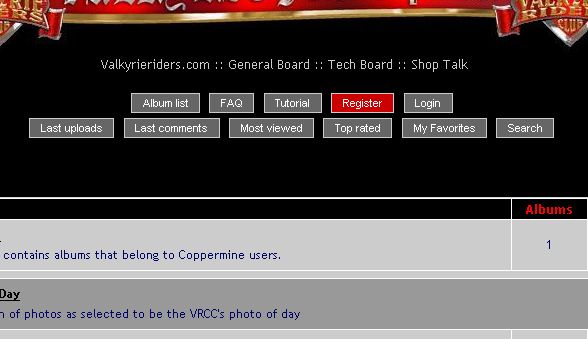
Step 1: Click on the Register link as seen in the above illustration(highlighted in red)
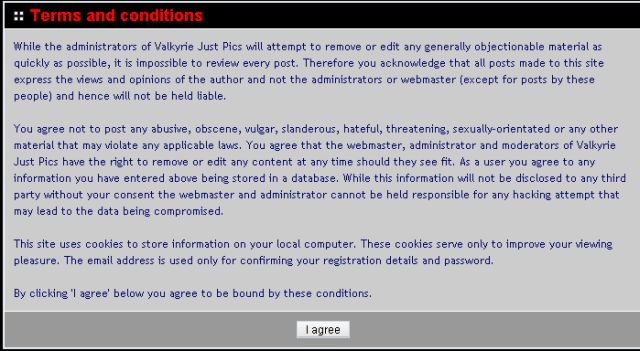
Step 2: Read the terms of the user agreement, and if you agree, click the I AGREE button
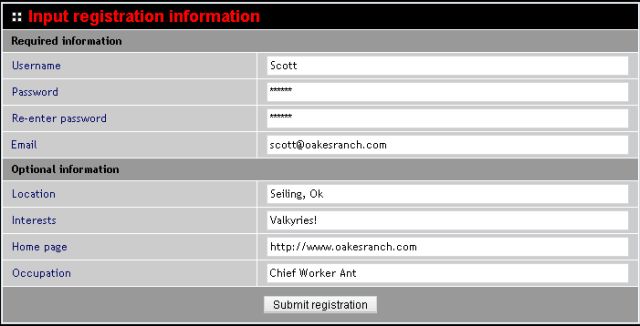
Step 3: Fill in your information as seen in the above illustration. You MUST provide a valid email address or you will not be able to finish registration. Once you are finished, click the Submit Registration button.
Step 4: At this point, the photo album has your information but needs to verify you have a valid email. Time to head off and check your email so you can activate your new account!
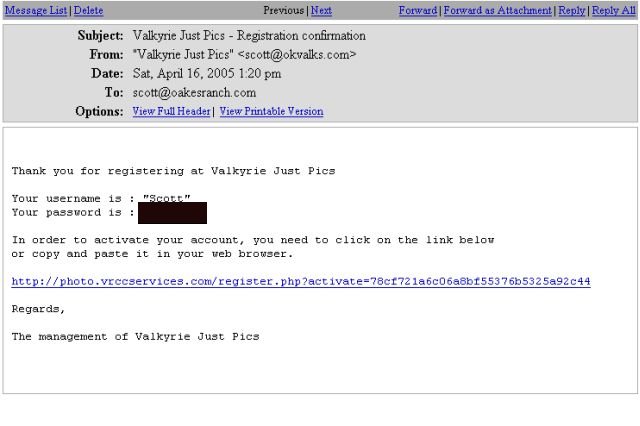
Step 5: Once you get the email that looks like the one above, just follow the link back to the photo gallery to active your account!
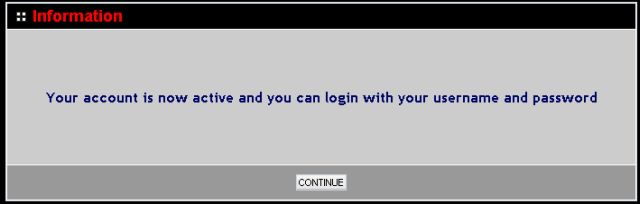
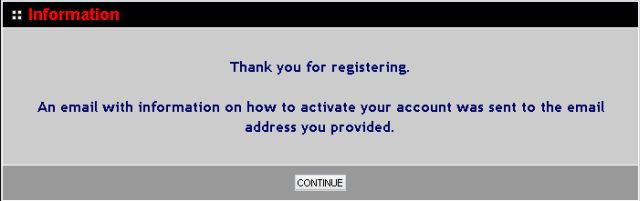
Step 6: If you followed the link mentioned above and all things went correctly, you should get the above message.
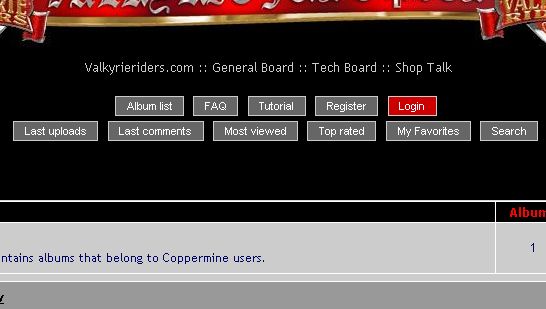
Step 7: Click on the Login link as seen in the above illustration(highlighted in red)
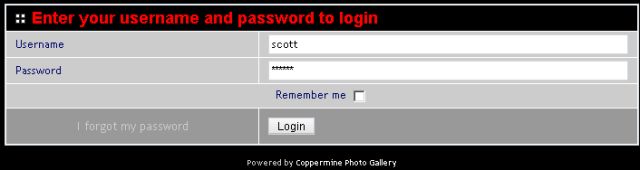
Step 8: Enter the name and password that you provided when registering and click the Login button.
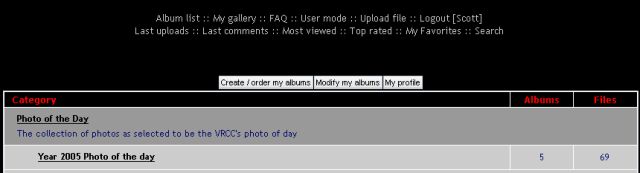
Step 9: Once you have logged in, you will notice some new buttons above the main album table. Lets begin by creating a new Album for your pictures. Click the Create/Order my Albums button.
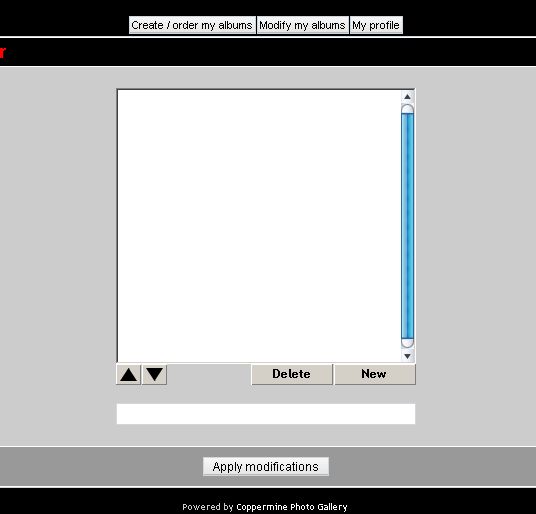
Step 10: Next you will see the create/order album dialog. Click the New button as see in the illustration above.
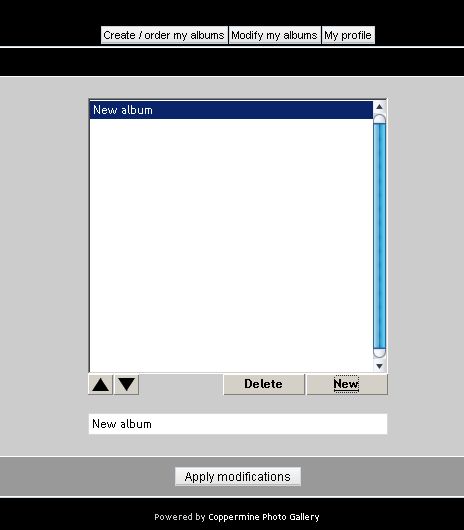
Step 11: Once you've clicked on the New button, New Album will be listed.
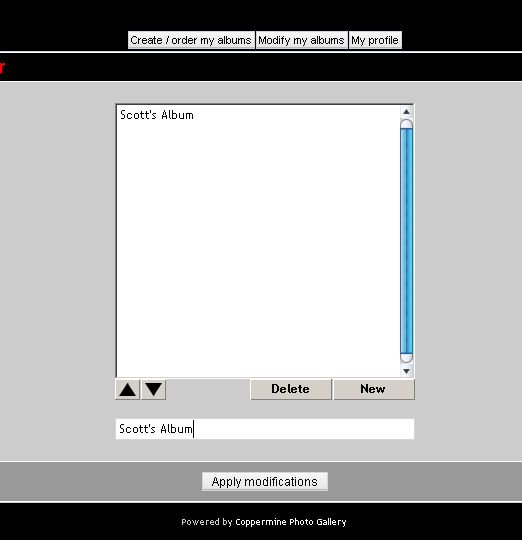
Step 12: Select the New Album text in the bottom text box, and change the name to whatever you want to call your album. Once you have the name changed to your satisfaction, click the Apply Modifications button.
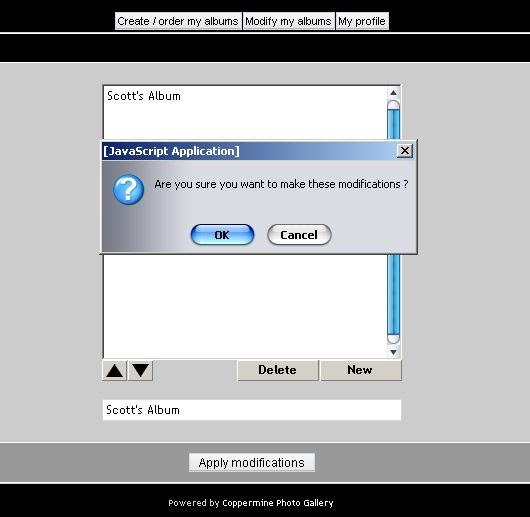
Step 13: A popup confirmation will pop up, click OK to confirm your changes
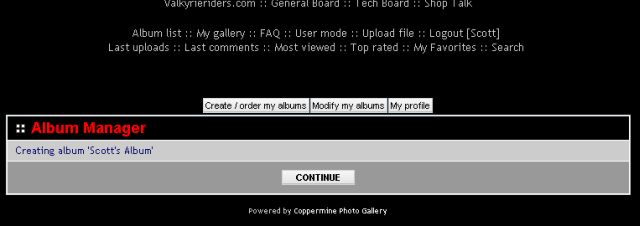
Step 14: You will get this message showing you what changes you have made.(New Album in this case). Click Continue to take you back to the main Album view.
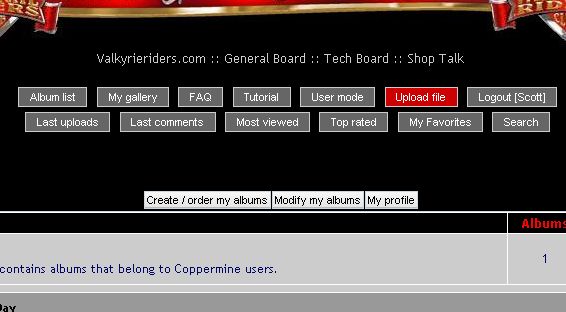
Step 15: Click on the Upload File link as seen in the above illustration(highlighted in red)
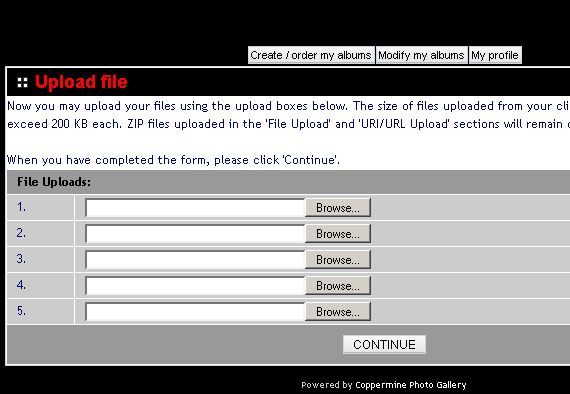
Step 16: You will now be greeted with a list of 5 upload boxes. You can upload 5 photos at a time if you choose, but lets just start with one. Click the first Browse button to select a photo for upload.
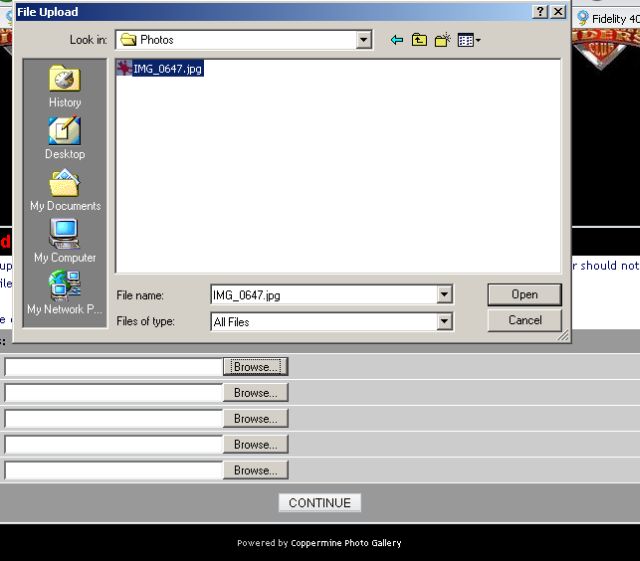
Step 17: Navigate to the pic you want to upload in the dialog.
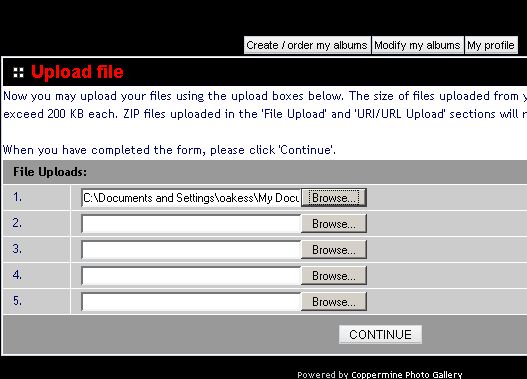
Step 18: Once you have your photos(s) selected, click the Continue button to upload your photos.
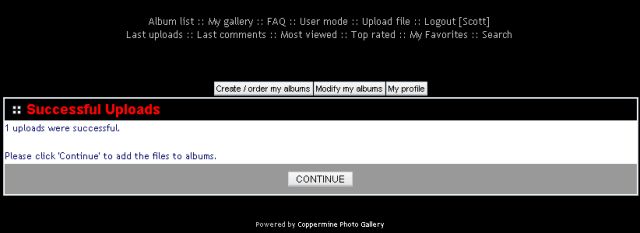
Step 19: If your photo met the requirements for file size(less than 200kb) you should get the upload confirmation above. Click Continue to go to the next step.
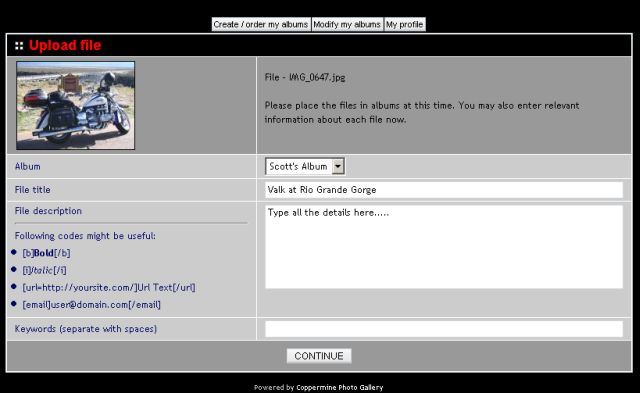
Step 20: This step is where you select the album to place the photo(if you have more than one), select a title, and a description of the photo. Keywords are used in the search function, so use them if you want. Once you are satisfied with the details, click continue to add your photo to the album you selected.

Step 21: You should then get this message if your photo was successfully added. Click Continue to go back to the main album view.
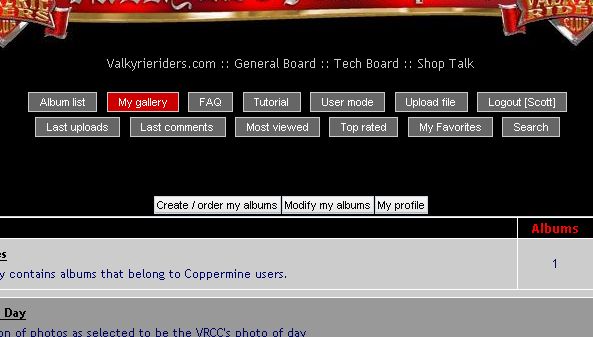
Step 22: Now you can navigate to your album by clicking on the My Gallery link as shown highlighted in red above.
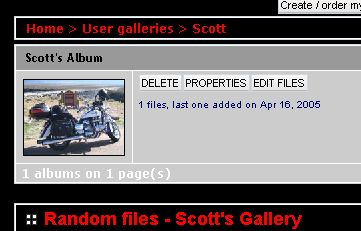
Step 23: WARNING: In the view above we are looking at the ALBUM thumbnail. If you click the delete button it will delete the WHOLE ALBUM not just the photo you see. The other buttons can be used to administer your album and photos.
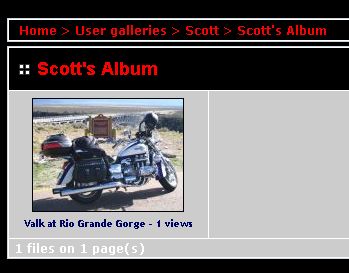
Step 24: Here we are, the thumbnail view of our newly added photo!
Back to Tutorial Home